Digital dentistry uses digital records, planning software, and computer-assisted production to support clinical and laboratory work. In a restorative workflow, the main stages include data capture, case review, CAD design, material-specific manufacturing, finishing, and clinical evaluation. Digital tools can improve communication and reduce some manual steps, but they do not eliminate errors or guarantee a fixed turnaround time. The appropriate workflow depends on the restoration, available records, equipment, and clinical requirements.
Key Takeaways
Digital dentistry connects clinical records, design, production, and communication; purchasing a scanner is only one part of adoption.
Complete scans and prescriptions help the lab evaluate the case, but errors can also occur during design, manufacturing, and clinical placement.
File compatibility involves more than accepting an STL file: color data, implant libraries, imaging, and case information may also matter.
Manufacturing and post-processing requirements depend on the selected material and restoration.
Existing digital records may support future work, but their clinical relevance must be reassessed before reuse.
Start with a defined use case, staff training, and a laboratory workflow that fits the practice.
What to Confirm Before Starting a Digital Case
The restoration type and records required by the laboratory.
The accepted file formats, scanner connection, and transfer method.
Preparation, opposing-arch, and bite records appropriate to the case.
Shade photographs, underlying tooth shade, and other esthetic references when needed.
Implant system and scan-body information for implant cases.
Any design approval, verification, or physical-record requirements.
The expected delivery date, including production and shipping.
How the practice and lab will identify, store, and exchange case records.
Intro
A digital restorative workflow connects the information collected in the practice with the design and fabrication work performed at chairside or in a laboratory. Its value depends on how well those stages work together. Practices do not need to use the same production method for every case. A digital scan may lead to a model-free crown, a printed working model, or a hybrid process that includes conventional steps. The aim is to obtain suitable records and produce the prescribed restoration through a controlled, clearly communicated workflow. This guide focuses on restorative digital dentistry, including scanning, file transfer, CAD/CAM, and laboratory collaboration. Implant planning and other applications may require additional records and clinical protocols.
““A successful digital workflow depends as much on clear communication with the lab as it does on the technology.””
What Does Digital Dentistry Include?
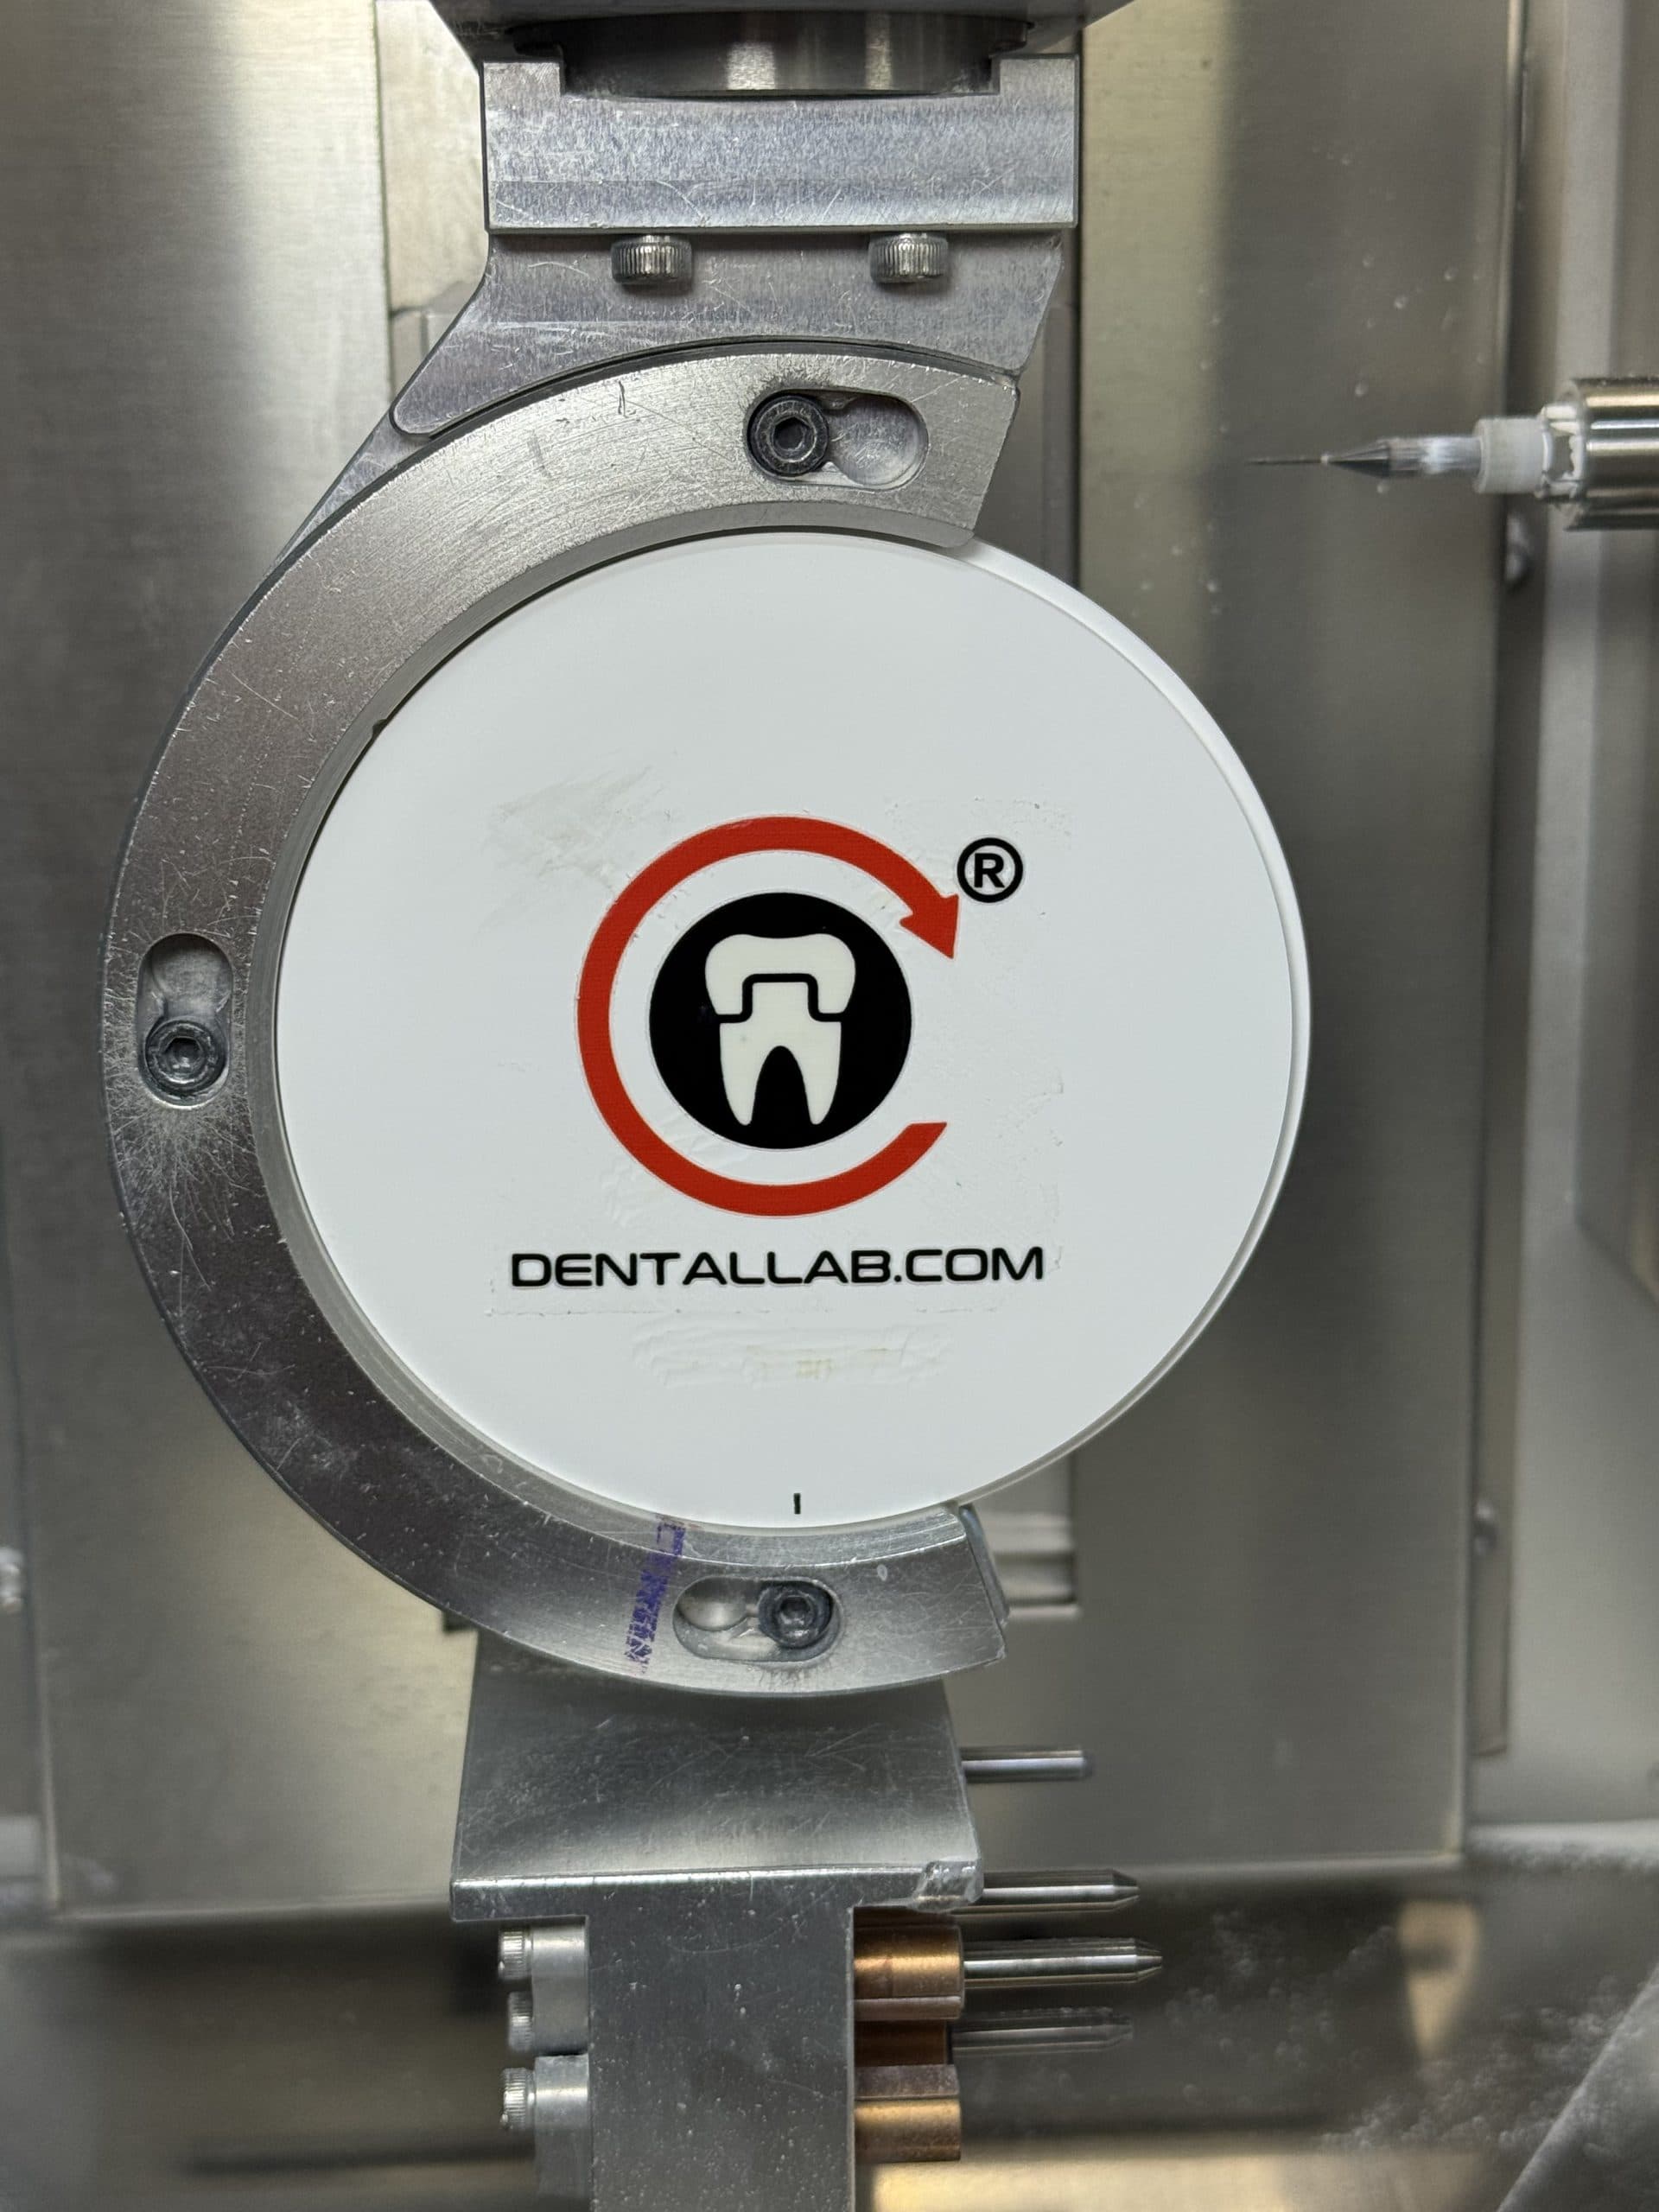
CAD/CAM milling setup at Dentallab.com for the digital dentistry fabrication workflow.
Digital dentistry covers several related activities. They can be combined, but each has its own information, equipment, and validation requirements.
Intraoral scanning: Captures visible oral surfaces as a digital model for suitable clinical applications.
CAD design: Uses software to design restorations, appliances, or other case components from the available records.
Computer-assisted manufacturing: Includes milling and validated 3D-printing workflows for appropriate materials and indications.
Implant planning: May combine surface scans with clinically indicated three-dimensional imaging and implant-system information.
Digital esthetic planning: Uses photographs, scans, and design tools to communicate proposed changes and treatment objectives.
These applications do not all use the same file format. A surface scan, a radiographic image set, and a restoration design contain different kinds of information. Compatibility should be confirmed for the intended task rather than assumed from the word “digital.”
File Formats and Compatibility: More Than STL
Computer-based records and software support the digital dentistry workflow in the clinic.
STL is commonly used to exchange three-dimensional surface geometry. It does not carry all the information needed for every dental workflow. Color, imaging, implant components, and case instructions may require additional files or platform-specific data.
Data or format
Typical purpose
What to confirm
STL
Three-dimensional surface geometry
Whether the required geometry is complete and usable
PLY or OBJ
Surface models that may include color or texture information
Whether export and import preserve the needed information
DICOM
Medical imaging data, including CBCT datasets
Whether the planning software accepts and correctly imports the dataset
Native or platform-specific files
Case information, design data, or software-specific features
Software compatibility, access, and export limitations
Photographs and prescription records
Shade, esthetic references, and clinical instructions
Correct case identification and a suitable transfer method
The Digital Restorative Workflow, Step by Step
A dentist uses an operating microscope during patient treatment.
Take a routine crown and walk it through. The prep is scanned, margins are checked on screen while the patient is still numb, and the file uploads to the lab before the temporary is even cemented. At the lab, a technician screens the case, a designer builds the crown in exocad or 3Shape, and many labs return a design preview for approval. The design file then drives a mill or printer; the restoration gets sintered or crystallized, hand-finished, glazed, quality-checked, and shipped. Total elapsed time: usually 3 to 7 business days. Total physical objects mailed to the lab: zero.
We’ve broken this down day by day in our dental lab workflow guide, including where the hours actually go.
1. Capture the Clinical Records
Record the preparation, adjacent areas, opposing arch, and bite as required for the restoration. Follow the scanner’s capture protocol and review the model for missing or unclear information before submission.
Digital capture still requires visibility and appropriate tissue and moisture management. An on-screen model helps review the record but does not guarantee that every error will be detected.
2. Submit and Review the Case
Send the records with a complete prescription, including the restoration type, tooth number, material, shade, and relevant instructions. The lab reviews the submission and may request clarification or additional records before accepting the case.
Review Dentallab.com’s case submission instructions for its listed digital submission routes and physical case arrangements.
3. Design the Restoration
A technician uses CAD software to develop the restoration from the submitted records. The design must account for the prescribed material, restoration geometry, contacts, occlusion, and available space.
Where a design preview is offered, agree on what requires approval and when the response is needed. A preview supports communication but does not replace laboratory checks or clinical evaluation.
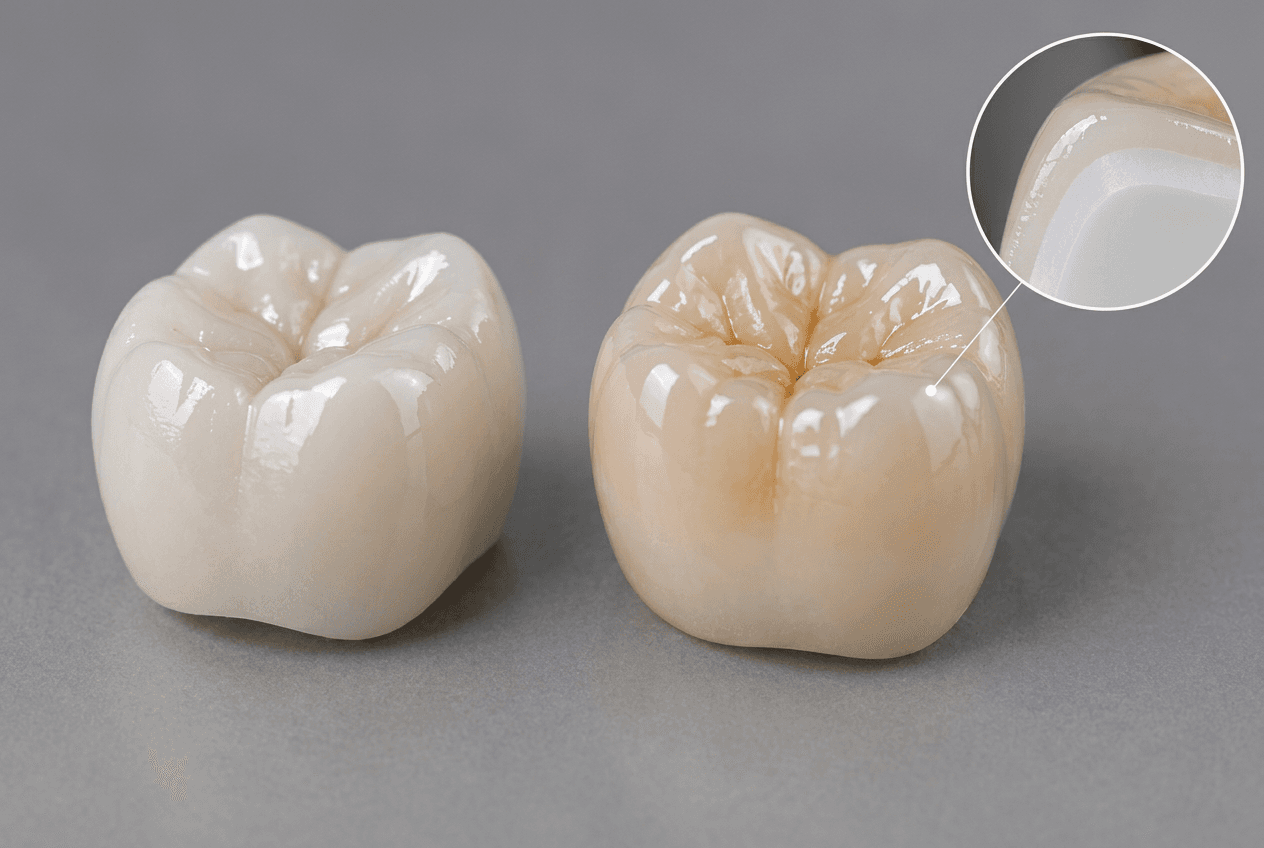
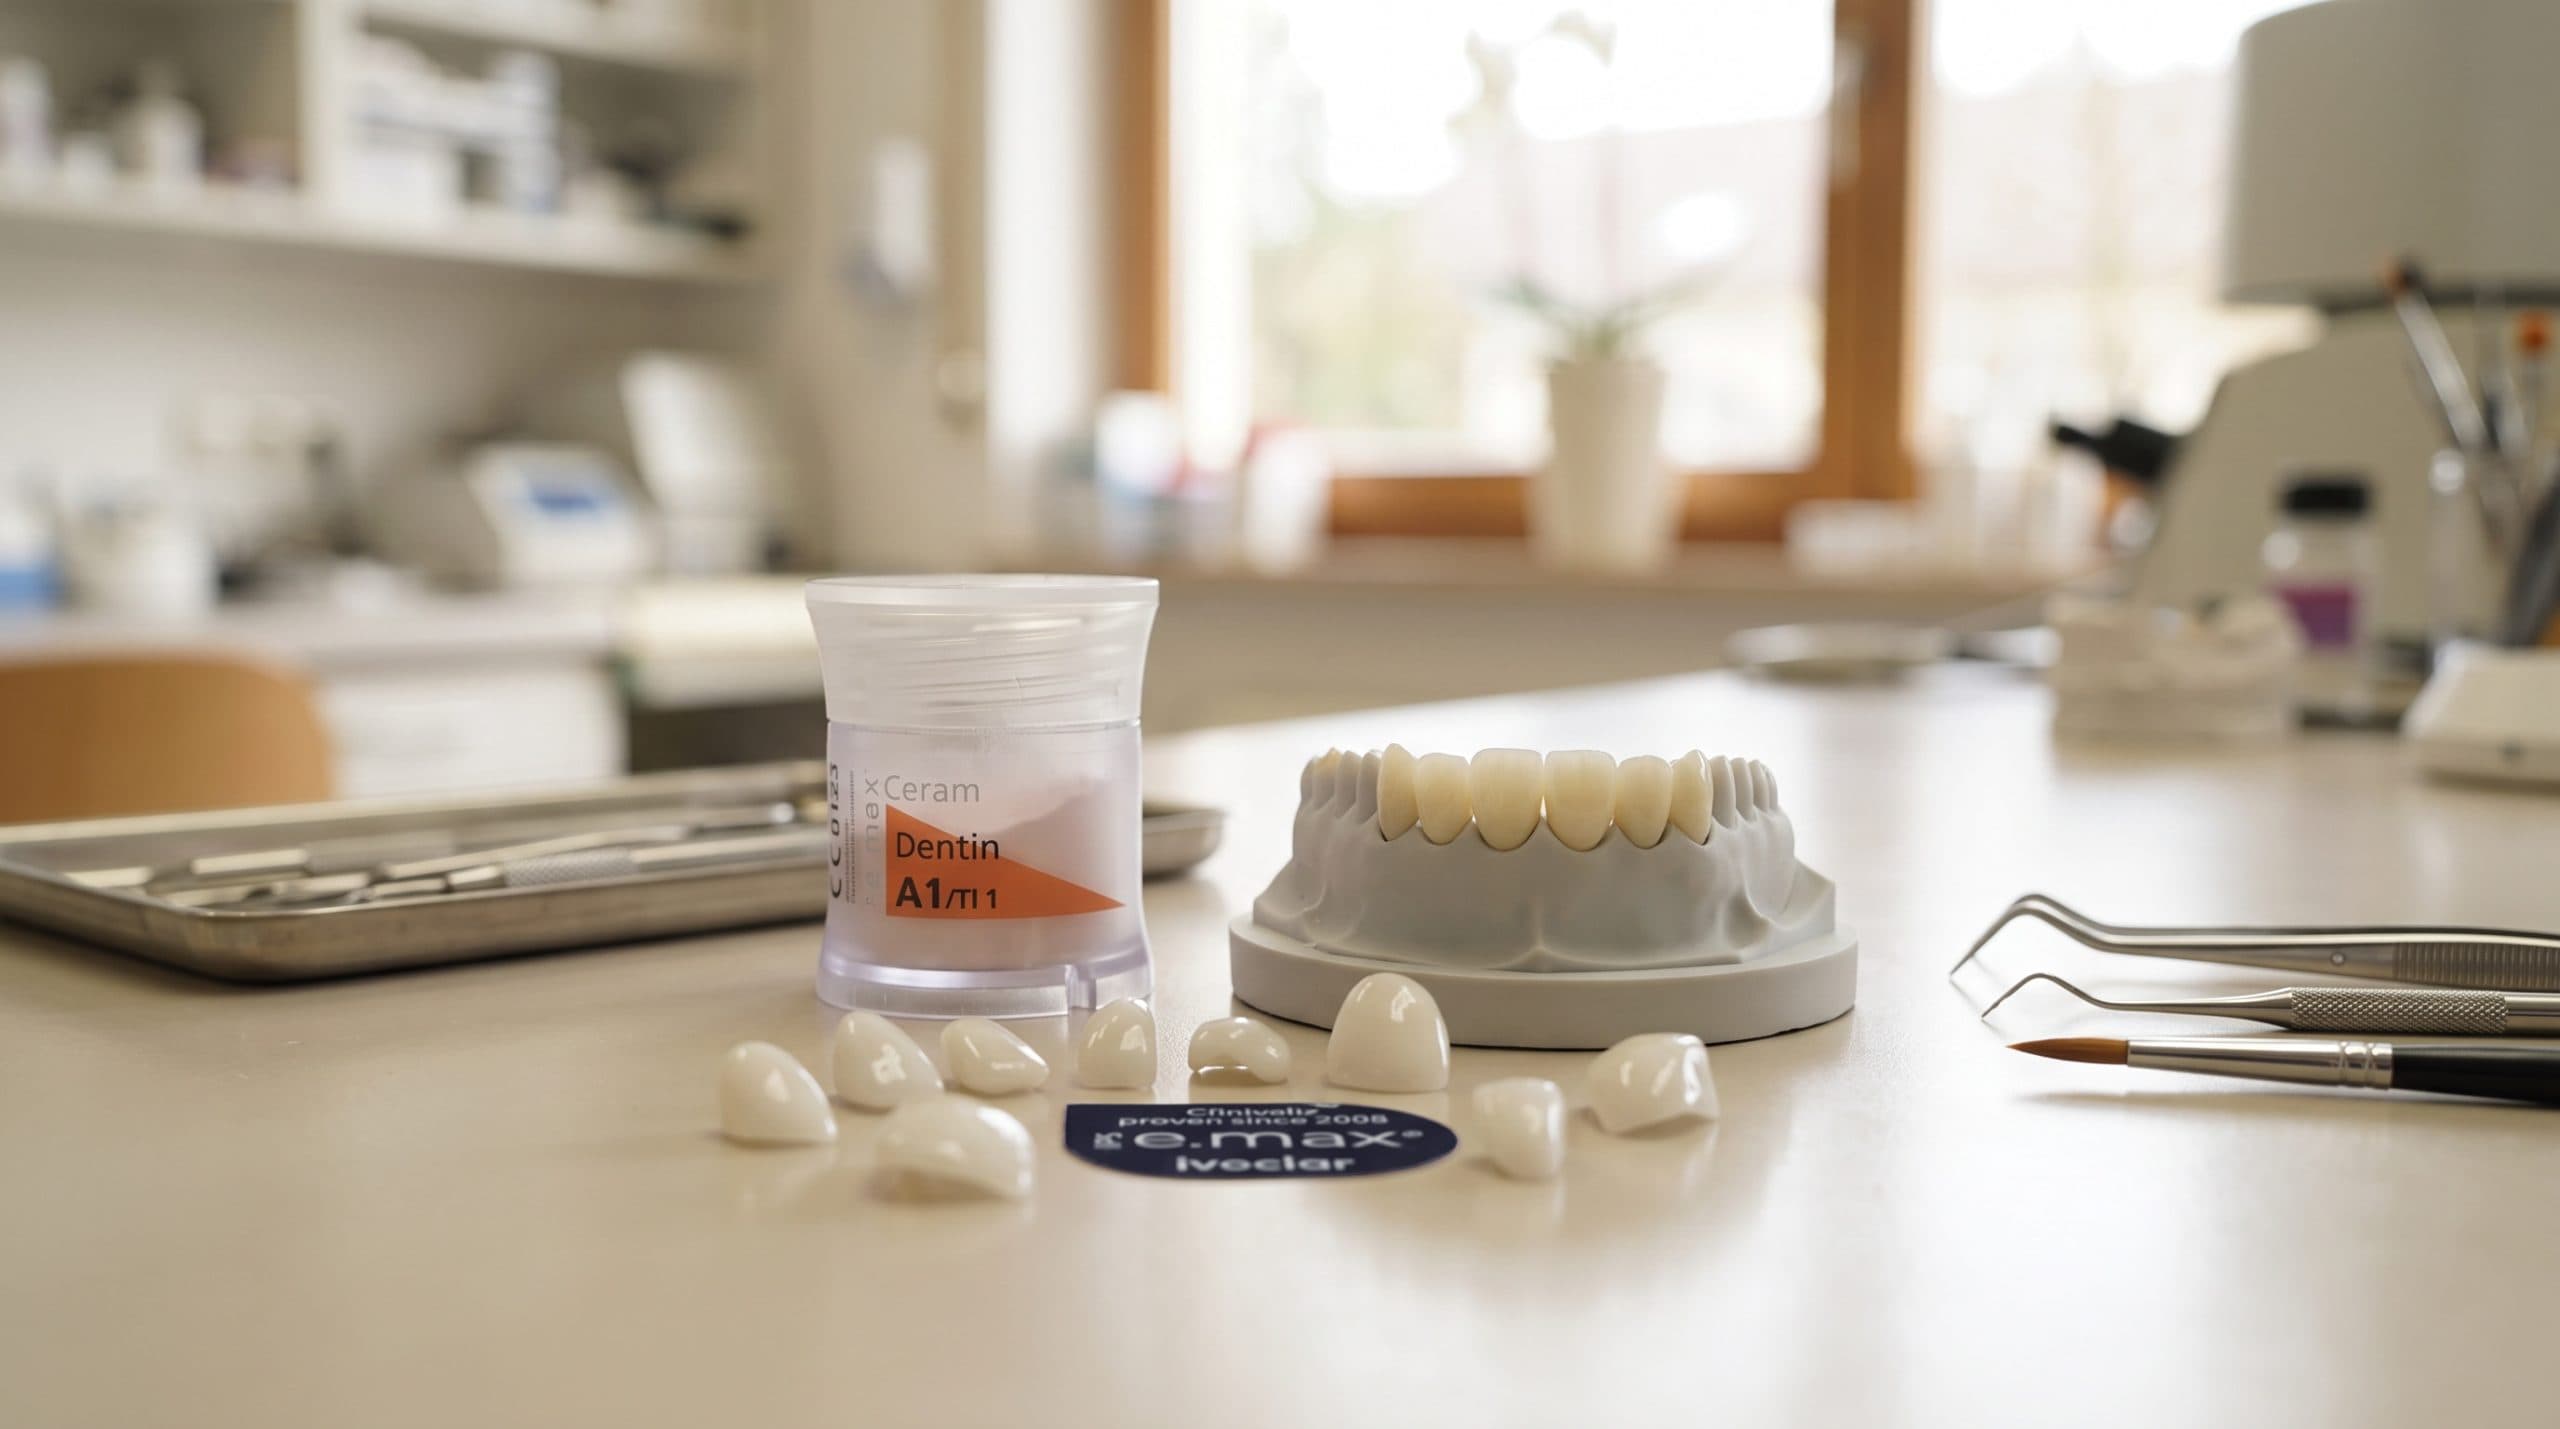
The approved design enters the production workflow appropriate to the material and indication. Pre-sintered zirconia is milled and then sintered according to its validated program. Materials such as IPS e.max CAD follow their specified crystallization process.
Printed resin restorations or appliances require their own validated cleaning, post-curing, and finishing procedures. Printing, sintering, and crystallization are different processes and should not be described as interchangeable steps.
5. Finish and Check the Restoration
The lab finishes the restoration and checks it against the prescription and available records. Depending on the case, this may include assessments of contours, contacts, shade, surface finish, and fit on a physical model.
A printed model can be a planned part of a digital workflow. Its use does not automatically mean that the laboratory has abandoned digital production.
6. Deliver and Evaluate Clinically
For laboratory-produced cases, the restoration is packaged and shipped to the practice. The dentist evaluates seating, margins, contacts, occlusion, and esthetics before final placement.
Confirm the expected delivery date after case acceptance. Approval time, production requirements, corrective work, shipping, and appointment availability all affect the interval from scanning to the seated restoration.
Digital vs Conventional: Restorative Workflow at a Glance
DIGITAL SUBMISSION
CONVENTIONAL IMPRESSION
↓
↓
1. Scan & review Capture the required clinical records
1. Impression & inspection Take, set, and check the impression
↓
↓
2. Electronic transfer When no physical records are required
2. Pickup or shipping Send the impression to the laboratory
↓
↓
3. File review A physical model may still be needed
3. Impression review Prepare a model or digitize the records
↓
↓
4. Design & production Fabrication, finishing, and quality control
4. Design & production Fabrication, finishing, and quality control
↓
↓
5. Delivery & clinical evaluation Ship the restoration; assess before placement
5. Delivery & clinical evaluation Ship the restoration; assess before placement
Digital submission can remove inbound impression shipping. Overall turnaround still depends on case review, production, delivery, and clinical scheduling. Arrows show sequence, not elapsed time.
Common Problems in a Digital Dentistry Workflow
Stage
Potential problem
Practical response
Capture
Missing margins, incomplete coverage, or an unsuitable bite record
Review the records and obtain additional information when needed
Transfer
Missing files, lost color information, or unsupported formats
Test the submission route and confirm what the lab receives
Prescription
Unclear material, shade, restoration type, or instructions
Use a consistent submission checklist
Design
Incorrect interpretation of records or incompatible components
Resolve questions and agree on any review steps before production
Manufacturing
Incorrect settings or incomplete material processing
Follow the validated equipment and material workflow
Clinical placement
The restoration does not meet clinical requirements
Assess the cause and communicate findings to the lab
Team coordination
Unclear responsibility for approvals and follow-up
Assign ownership of case submission, communication, and tracking
What Digital Workflows Can Improve—and What They Cannot Guarantee
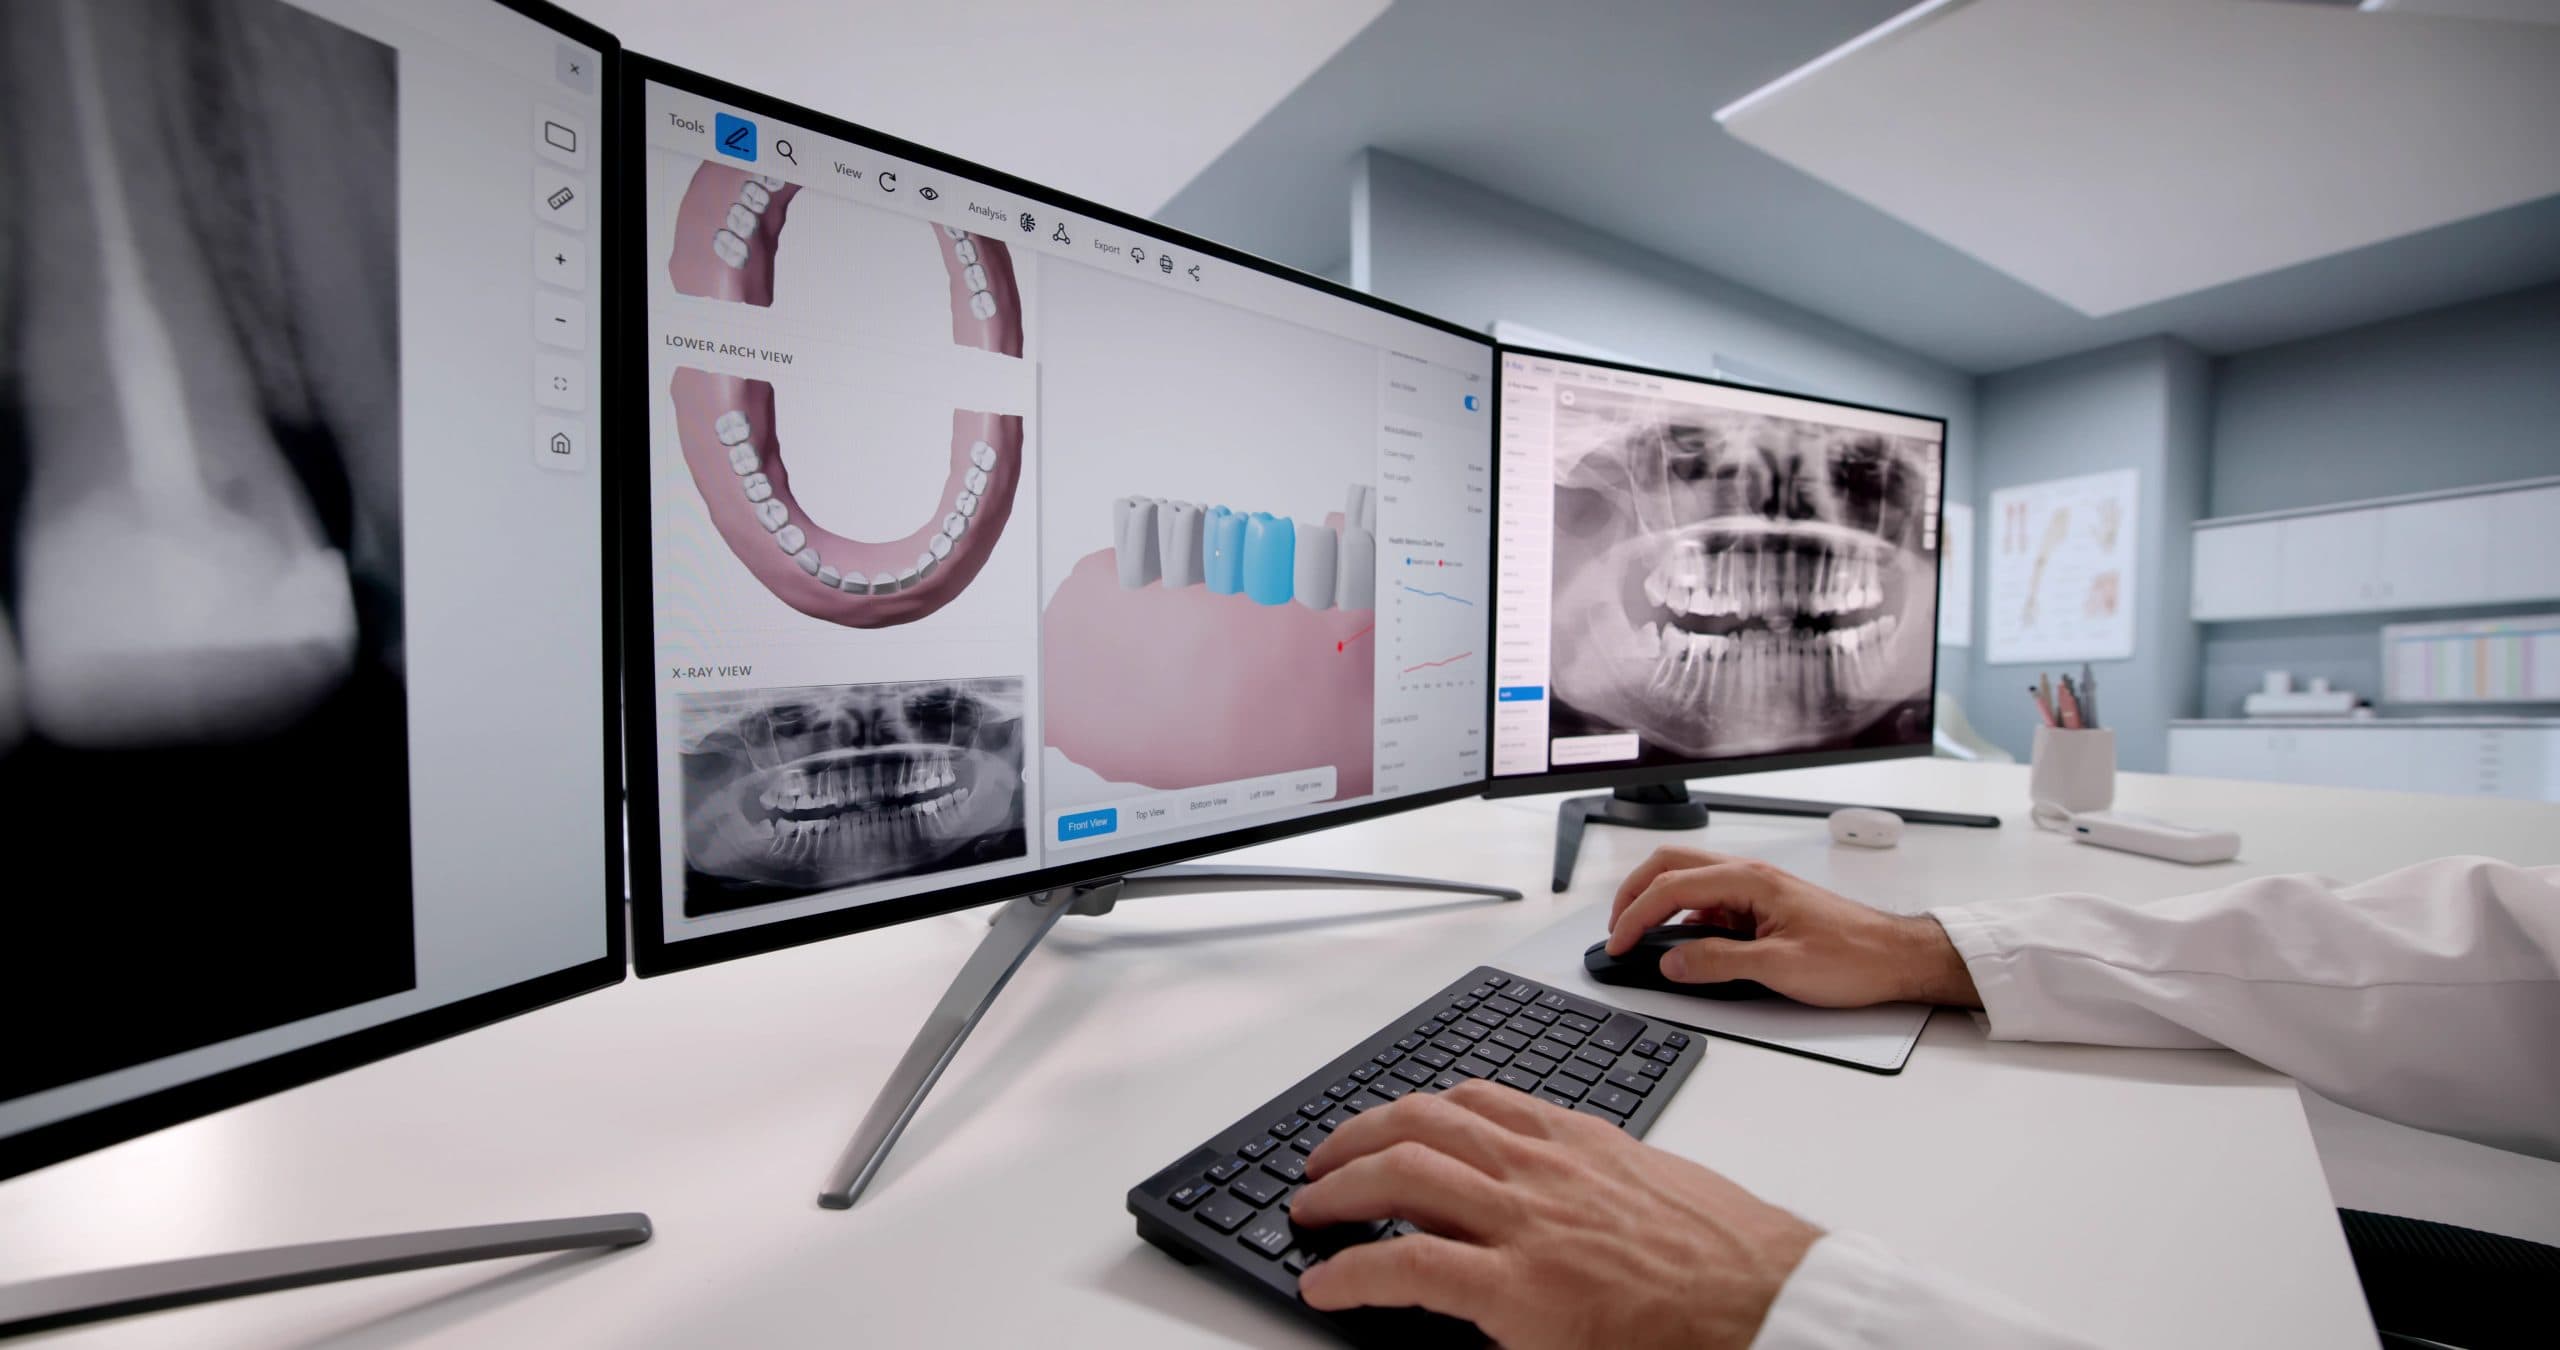
Reviewing a digital dental scan on screen supports case assessment and treatment planning.
Digital records can support earlier communication between the practice and the lab. On-screen review may reveal missing areas while the patient is still present, and electronic transfer avoids shipping an impression when no physical record is required.
Benefits depend on the clinical application and the workflow being compared. A clinical trial involving a specific single-implant crown protocol found greater time efficiency with a model-free digital approach and similar quality outcomes. That finding should not be generalized to every restoration or practice.
Digital files can also support review, comparison, and future fabrication. However, they represent the patient at the time of capture. Tooth position, preparation geometry, occlusion, and surrounding tissues may change.
Before remilling a crown or reproducing an appliance from an existing file, the clinician should reassess the case and determine whether updated records are required. A fracture also warrants assessment of its cause; simply reproducing the original design may not address the problem.
How to Introduce Digital Dentistry into a Practice
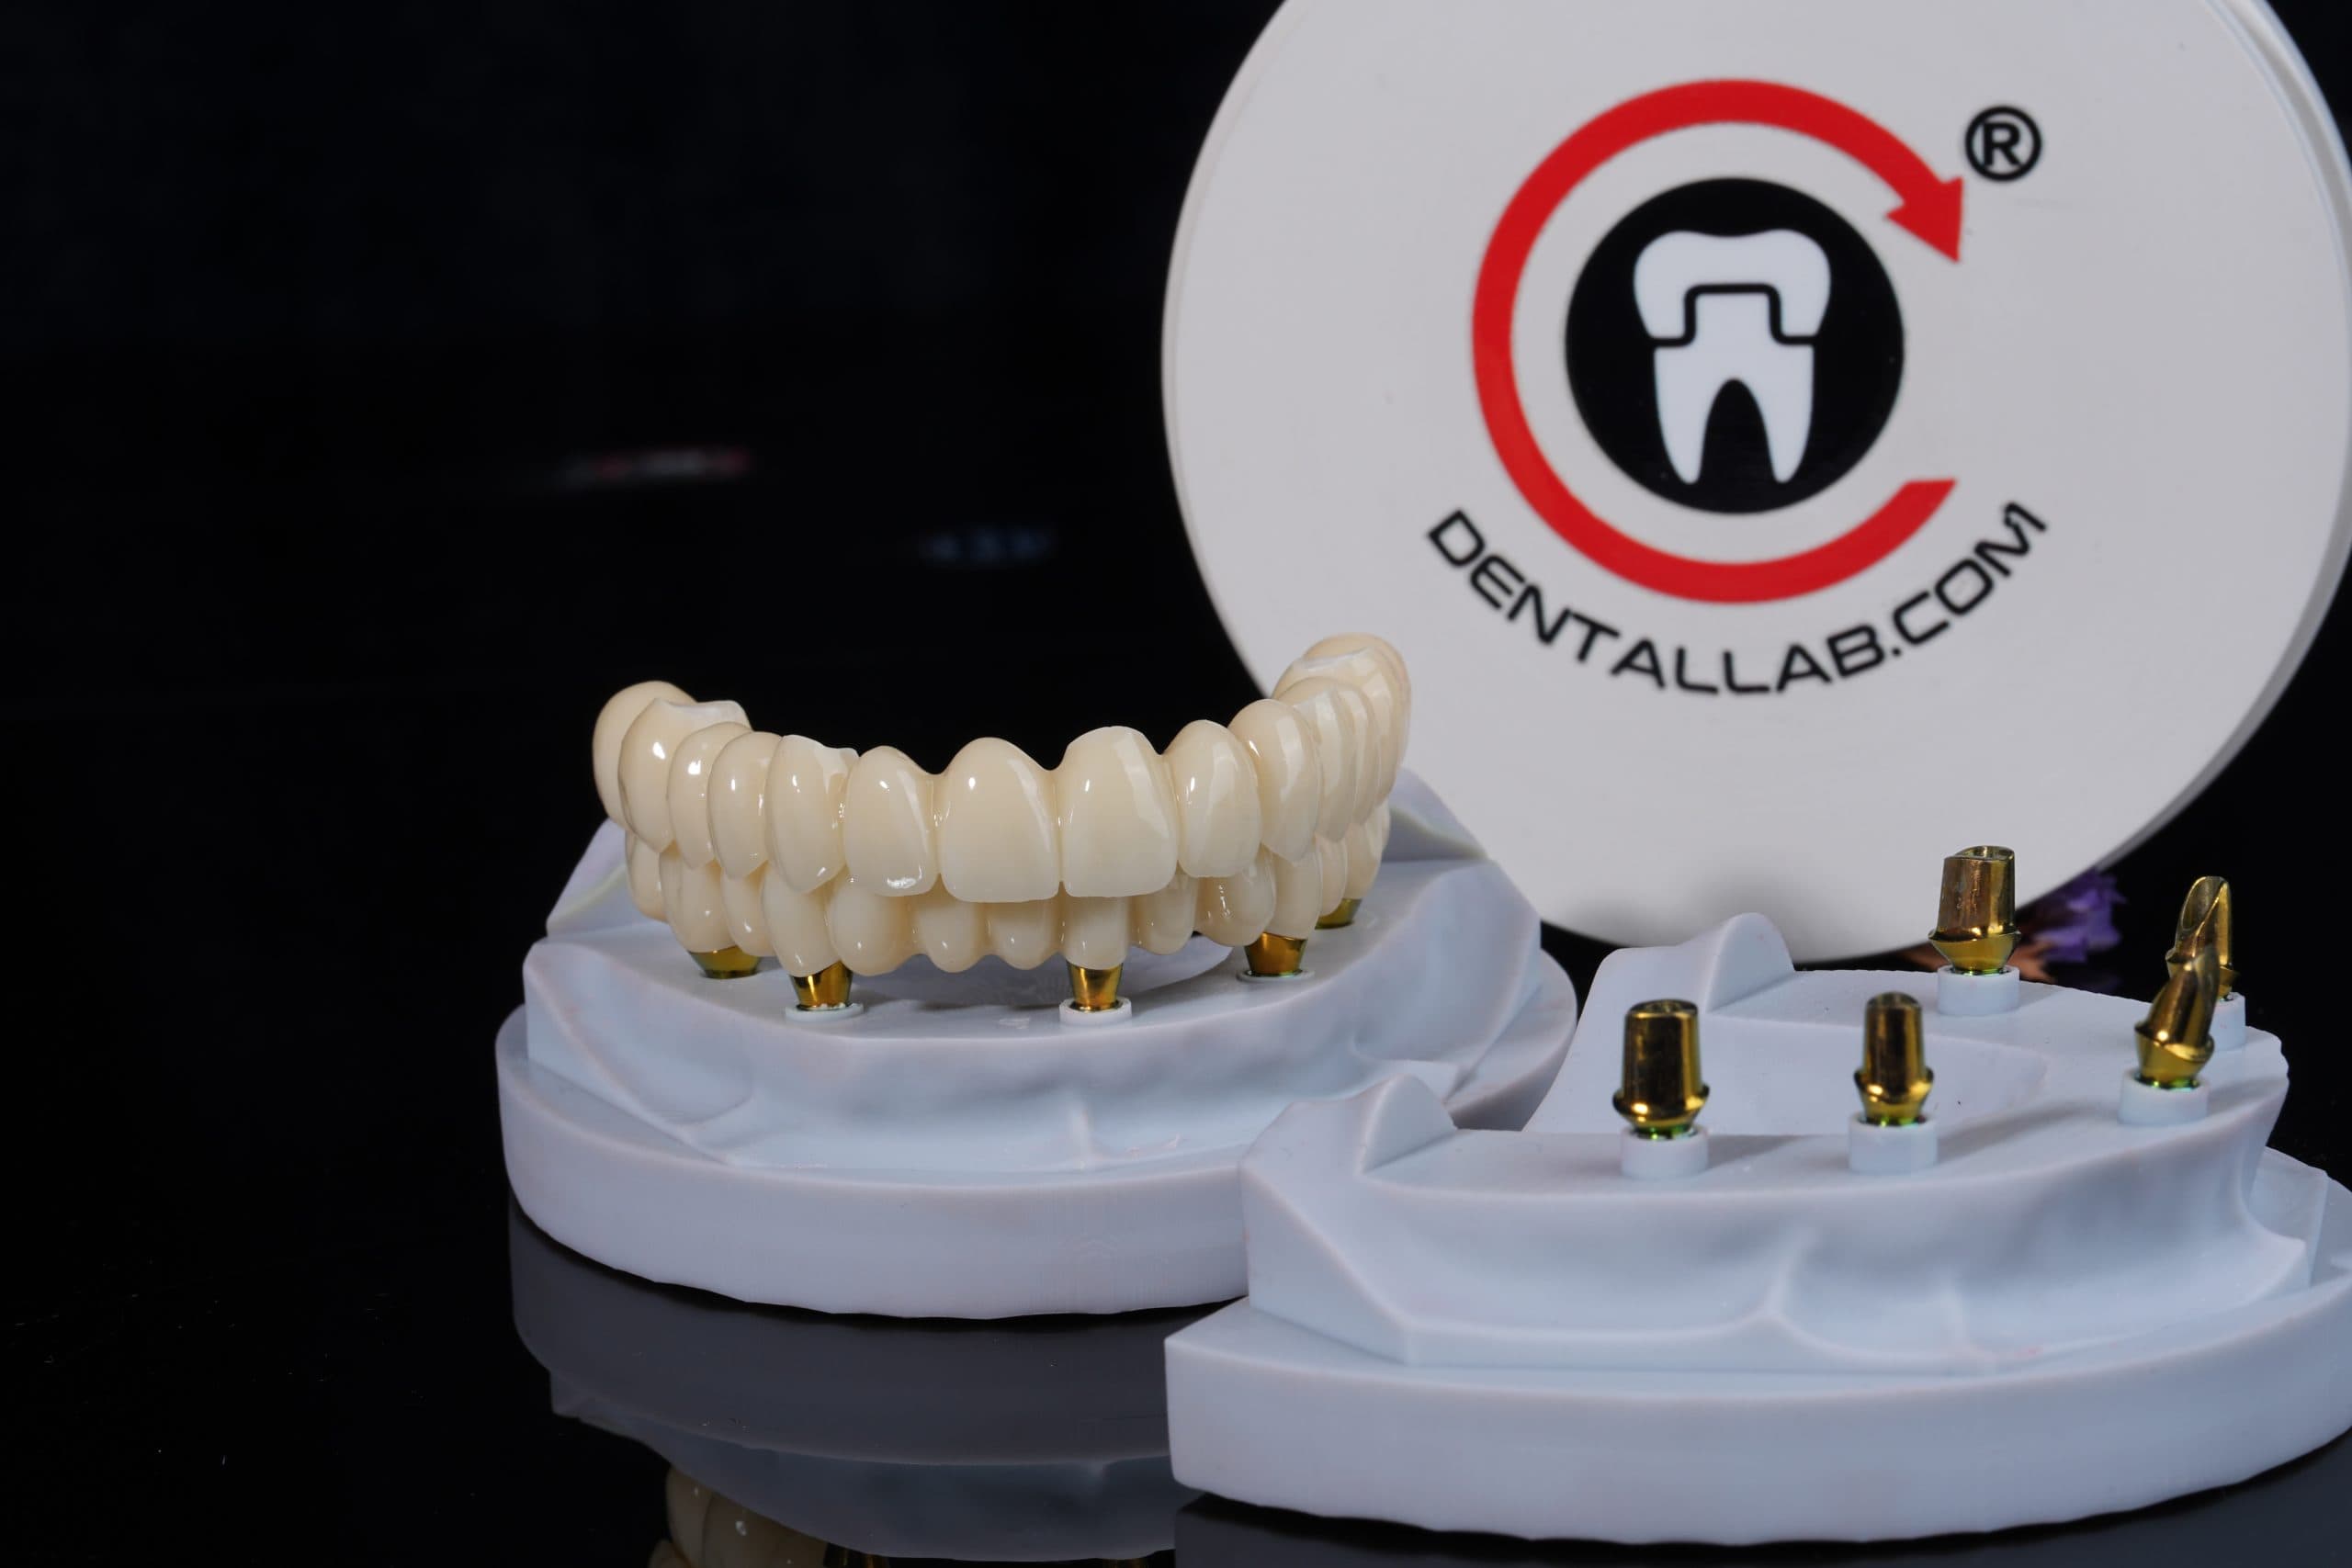
Full-arch restorations and implant models displayed at Dentallab.com.
Begin with a defined clinical use case and a clear understanding of the current workflow. For a practice planning to submit digital restorative records, intraoral scanning with an established lab connection may be a practical starting point. It is not the only way to use digital dentistry, and it is not risk-free.
Define the initial cases. Select applications that fit the team’s clinical experience and the lab’s requirements.
Confirm compatibility. Check scanner exports, transfer routes, required files, and laboratory support.
Plan the total cost. Include equipment, computing requirements, training, maintenance, tips, and applicable software or subscription fees.
Train and test the process. Agree on capture checks, submission responsibilities, and responses to lab questions.
Measure performance. Track incomplete submissions, rescans, adjustment time, remakes, and delivery reliability.
Expand when justified. Consider in-house manufacturing or additional planning tools when clinical demand, staffing, facilities, and quality-control capacity support them.
Adoption time varies with the team, equipment, case mix, and frequency of use. Avoid promising competence within a fixed number of weeks without evidence from the specific training program.
Guided implant treatment requires appropriate clinical training, case selection, imaging, and verification. It should not be presented as an automatic next purchase after a scanner. CBCT should be obtained only when clinically justified.
Digital dentistry works best when clinical records, design decisions, manufacturing, and communication are coordinated. A scanner or printer alone cannot guarantee accurate records, predictable delivery, or successful clinical outcomes. Start with suitable cases, establish a reliable submission process, and measure where the workflow improves or needs correction. Use conventional or hybrid methods when they better meet the clinical requirements.
Frequently Asked Questions
What is digital dentistry? Digital dentistry uses digital technologies to support diagnosis, records, planning, design, and production. In restorative care, this may include intraoral scanning, CAD software, milling, and validated 3D-printing workflows.
Is digital dentistry always more accurate than conventional methods? No single workflow is more accurate for every application. Outcomes depend on the records, equipment, operator, restoration, and production process. Removing a conventional step can remove one source of error while introducing different technical requirements.
What equipment does a practice need to submit digital restorative cases? A practice capturing intraoral scans needs a suitable scanner, its required computing setup, and a compatible submission route. Other equipment depends on the services provided. Manufacturing can remain with a laboratory.
Does the practice need its own mill or 3D printer? No. A practice can capture and submit digital records while a laboratory manages design and production. In-house manufacturing is a separate decision involving staffing, equipment, maintenance, materials, and quality control.
How long does a digital crown case take? Timing depends on case acceptance, design review, manufacturing, finishing, shipping, and appointment availability. Obtain a case-specific delivery estimate and distinguish laboratory turnaround from the date the restoration will be seated.
What is the difference between CAD and CAM? CAD means computer-aided design: using software to develop the restoration or appliance. CAM means computer-aided manufacturing: using digital production instructions to support processes such as milling or 3D printing.
Is an STL file enough for every dental case? No. STL mainly represents surface geometry. Some cases also require color information, photographs, radiographic imaging, implant-library information, and a complete prescription. Confirm the requirements with the receiving lab or planning service.
Can an old scan be used to remake a crown or appliance? Sometimes, but only after confirming that the records and design remain clinically appropriate. Changes in the mouth or the reason for the original failure may require new records or a revised design.
What is guided implant surgery? Guided implant surgery uses a digital plan to assist transfer of the intended implant position to the clinical procedure. Static guides and dynamic navigation are different approaches. Appropriate imaging, planning, verification, and surgical judgment remain necessary.
Does digital dentistry eliminate physical models and impressions? No. Some cases can proceed without a physical model, while others benefit from printed models, conventional impressions, or a hybrid workflow. The method should match the clinical and production requirements.
How much does adopting digital dentistry cost? Costs depend on the equipment, software, training, maintenance, and applications selected. Compare current quotations and total ownership costs rather than relying on a single scanner-price range.
Plan Your Digital Case with Dentallab.com
Review the submission requirements for your restoration and discuss any file, material, or workflow questions before sending the case.